I just love a great deal, and today I made one!
It’s mid-November, and our leaves (especially around the farmhouse) have really just come down. So, naturally, we have to rake them up, right? And it’s an all-day task, right? Well, not exactly!

About three years ago, I bought an amazingly inexpensive tool that has been such a help each fall: it’s an electric, corded leaf blower with a twist: it blows, but it also sucks leaves into a bag, mulching them on the way. This blower was under $100; one of the best tools I’ve ever invested in!
Brief Digression: Deep Litter
At Storybook Farm, we practice the deep litter method for bedding. In case you’re never heard of this, here’s a brief summary of how it works. Basically, you make compost inside your coop by combining elements that will break each other down naturally. The elements you need are three: carbon (usually shavings or other bedding elements, like pine needles or dried fall leaves), chicken poop (nitrogen), and tiny microorganisms that live in soil, leaves, and all living organic materials (these break down the combined carbon and nitrogen).
First, you put down bedding and make sure that the microorganisms are present (I had to add dirt to my wooden coop floor the first year; now I add fall leaves and they do double duty.) Then, allow chickens to poo. The carbon absorbs wet fecal materials and interacts with solid poo such that the poo dries out and (if left alone) the carbon elements will harden and cake. This is why you must turn your bedding weekly.
Each week, you add a light layer of carbon (say, shavings or dry leaves): about an inch, tops. Then, you fork it over and thus renew your bedding—or you get the chooks to do so for you by throwing treats down first, and then new shavings on top. When you put down seed treats first, your chickens will scratch and dig looking for the treats and turn the bedding pretty well for you (as long as it hasn’t been that long since it was last turned allowing it to cake badly.
Every month or so, I make sure I go in and give it a deep and thorough turning. Light and fluffy, and over the months, increasingly deeper, is this bedding. It smells great and is easy peasy for the busy chicken farmer to maintain, which is especially welcome when cold sets in. (Bonus: bored chooks in winter really get into scratching for those treats!)
With employing the deep litter method, I deep clean my chicken coops twice a year: spring and fall. In both seasons, the all of the bedding comes out of the coop and goes onto the garden, enriching our soil. (Gotta love the circle of life!) So, each fall I need to renew my deep beds in the coops.
Let’s get back to today’s fun times.

For the first the last two years, we’ve sucked up/mulched fall leaves, and then transferred them into feed sacks for use as carbon bedding through the winter. This worked great. However, today I wanted to deepen the bedding in our new Family Coops.
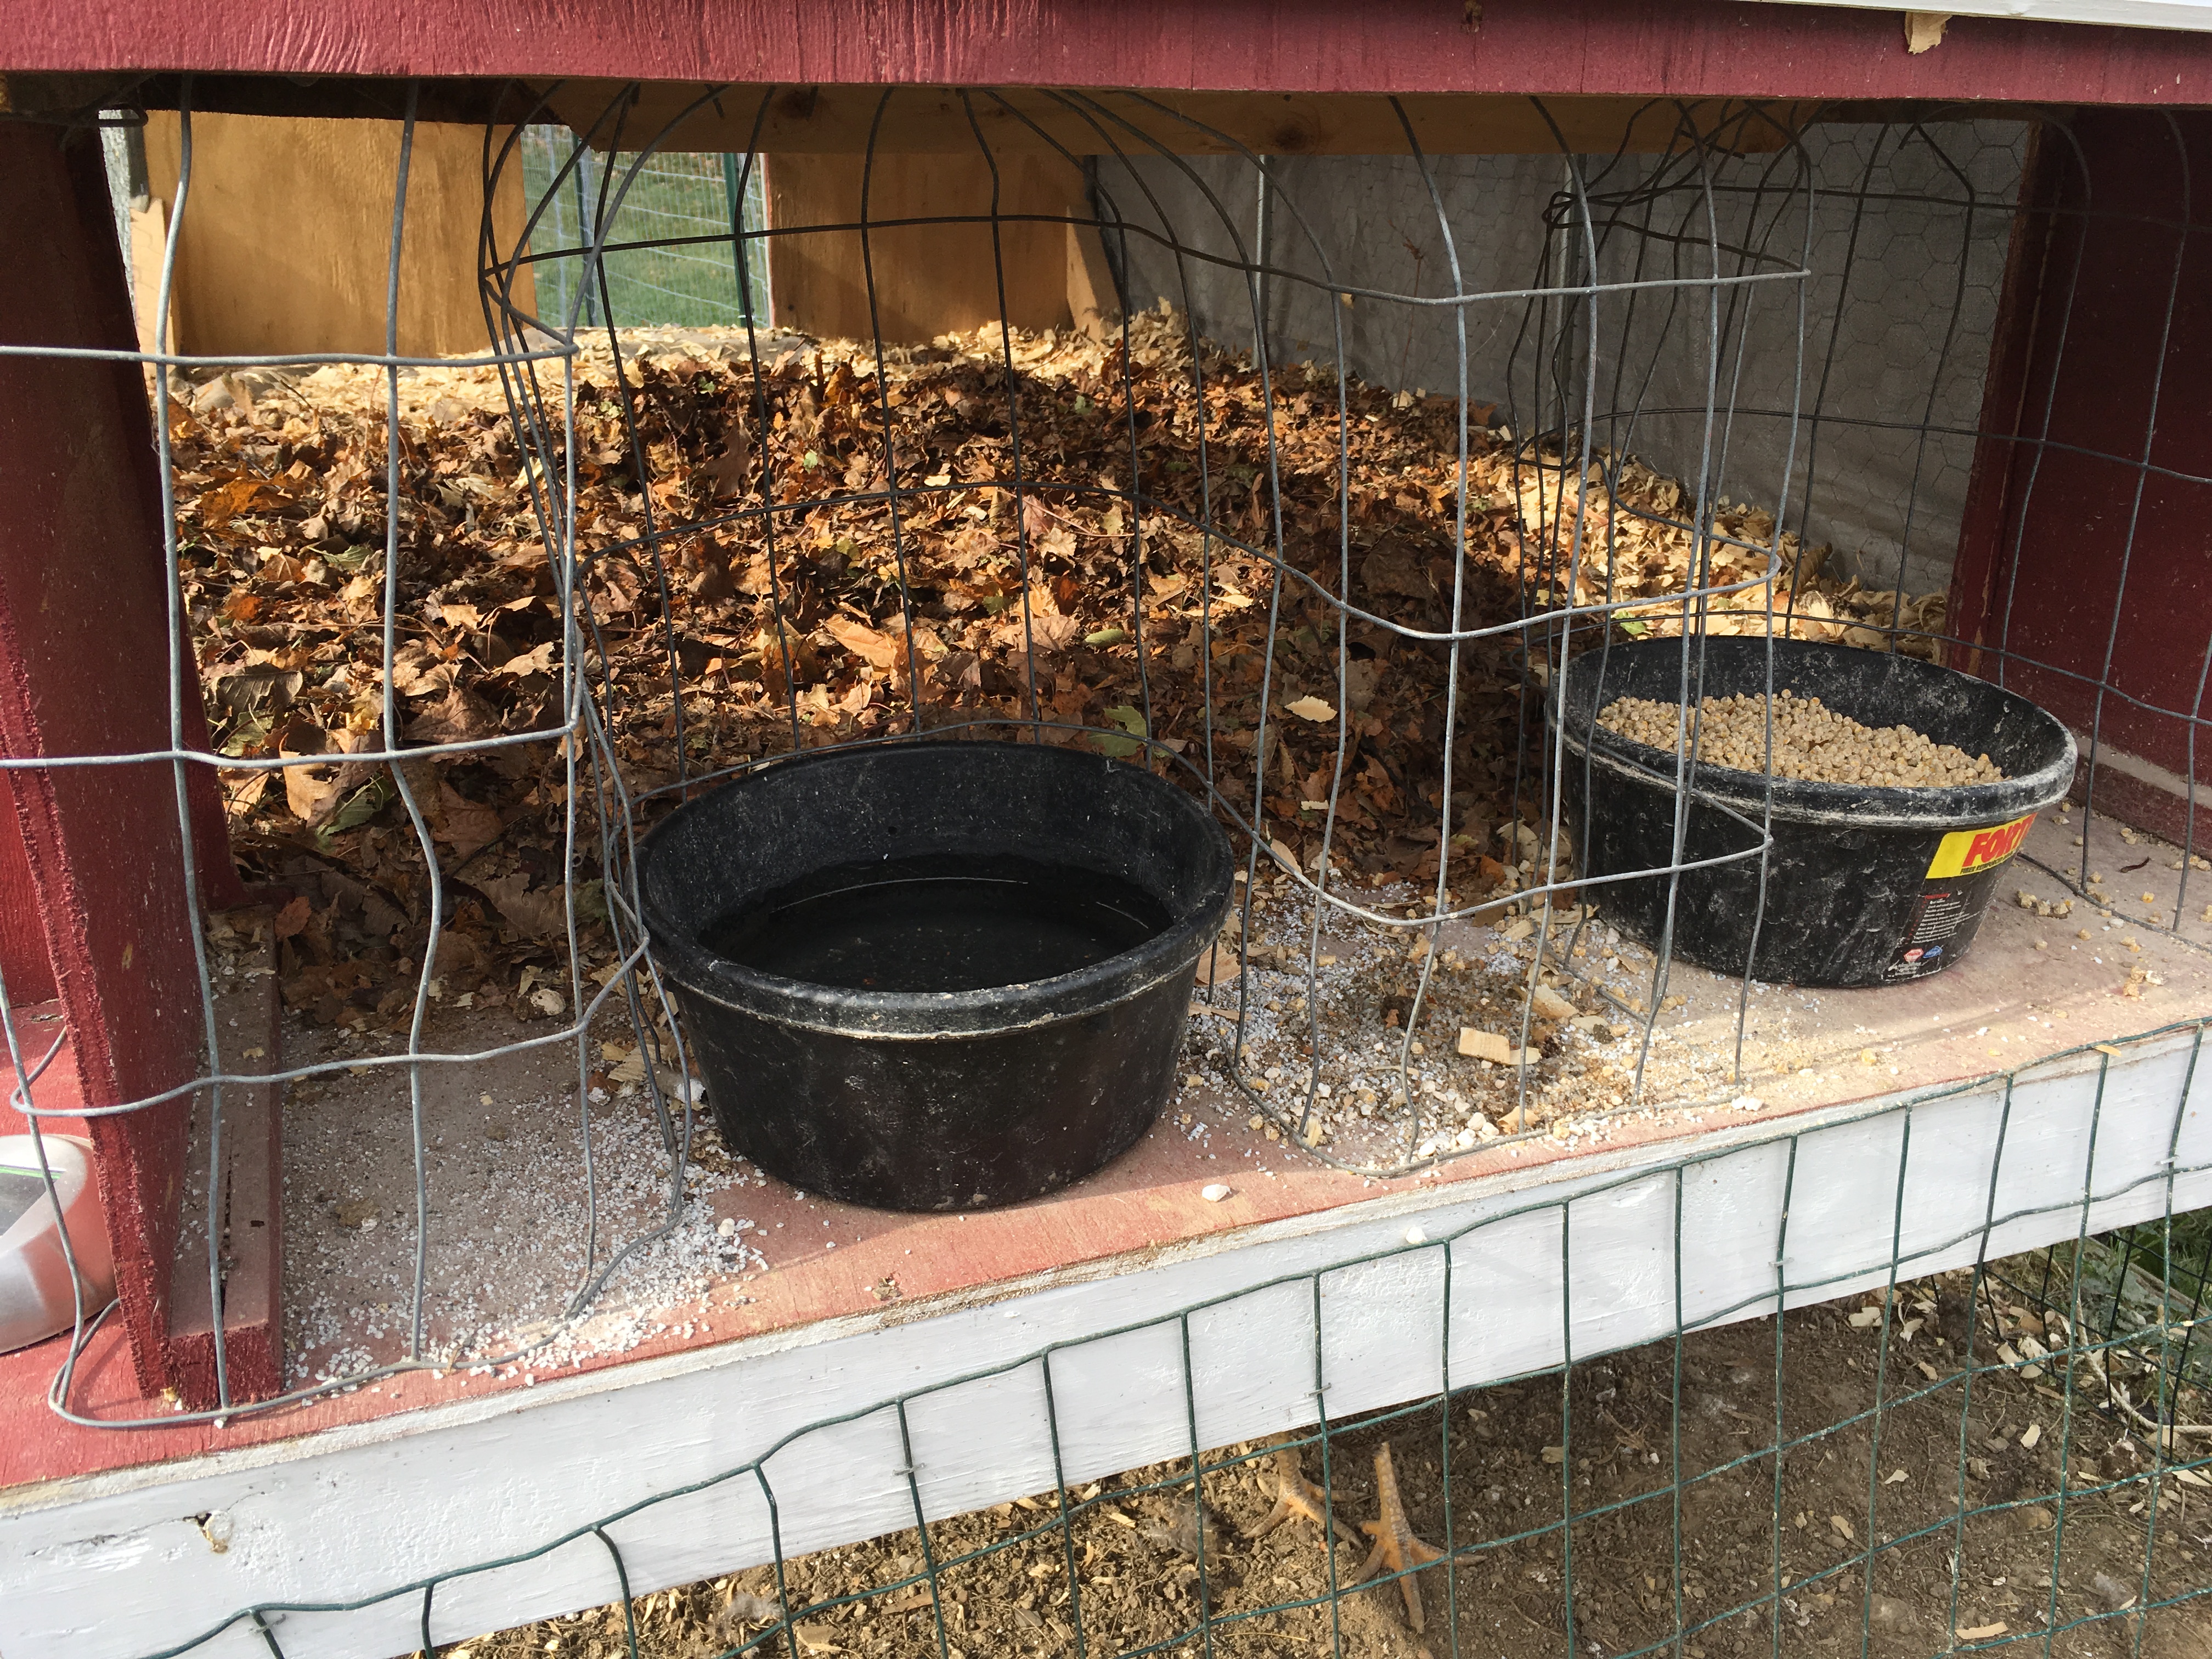
There are seven of these small coops. This is our first year with them, and we just winterized them about two weeks ago. In the summer, these coops have an entirely open bottom (less work for me and great ventilation) but in the winter, open flooring is too cold! So, two weeks ago we spend a couple of hours opening up all the tarps and stapling down some landscape cloth, then putting down 2” of shavings on that. After 2 weeks, though, I could begin to see the landscaping cloth (see above picture), and knew I had to deepen the beds to get that great mulching process going. (Besides, there were no microorganisms in there yet.)

So, today was mid-40s and sunny, and the leaves were fresh fallen, but dry (very key that they be dry or they can mold quickly) so out came the handy sucker/mulcher machine, and away I went.
I put a bag of beautifully processed leaves in each coop. Unlike when we did the winterizing and had to get inside the coops to staple down the landscaping cloth, I didn’t have to remove the tarps.
I just opened the nesting boxes and shook the bag of mulch inside. (This was an advance over previous years where we’ve had to transfer the mulch to bags and then to the coop.)
Then, I used our “grabber” tool to push them further into the coops and spread them a bit. I left a generous supply in each nesting box as well, just to make things more cozy for my hens at night.

When I got done, I felt like I had made such a deal! I had gotten the fallen leaves off the lawn, I had mulched them, and then (with very little effort) I doubled the coop bedding in each of seven coops and didn’t have to do the tiresome step of putting mulched leaves into bags for storage. Woot! I call that a win-win-win, and I’m smiling as I watch the happy chickens rooting around in the new fall leaves!